With school coming to a close this Momma has already had to deal with the whole, "Mom I'm bored, there is nothing to do" thing. We have been scrambling over at our place to keep the girls entertained. I did set a goal to try and find one new craft to do every week so we'll see how that one pans out. So far though our TV has gotten so much usage since schools been out that I think it almost over heated....BAD MOM.
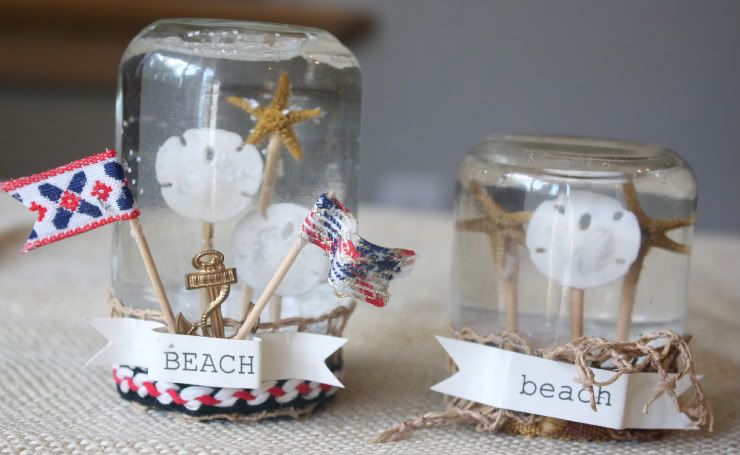
Anyway with our family planning to go to the beach soon I thought it would be cool to get the girls all pumped up for our upcoming trip by incorporating something along those lines. I had once seen somebody who had made Christmas snow globes out of baby food jars so that's when a "beach in a bottle" started to formulate in my brain. The only problem was how were we going to construct it. I first needed to find miniature pieces that could get wet. Once I had settled on sand dollars and starfish, how in the world were we going to get them to stay put in the bottle just right. So one night as I started to drift off the thought came to me "erasers & toothpicks". That is how this craft came to pass.
Supplies needed:
baby food jars
epoxy glue
glycerin
miniature objects to display (I found the mini sand dollars @ Michaels by all of the other sea shells)
eraser
toothpicks
spray paint (optional)
trims (I already had mine from all of my trim hoarding ways, I just knew I would need them sometime)
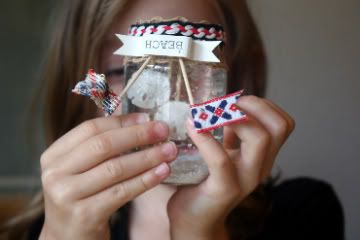
First spray paint the lids to the jars. Then glue the miniature pieces to the toothpicks and let dry. Next glue the erasure piece to the inside of the jar lid and let dry. Take your miniature pieces on toothpicks and push into the eraser. Then fill the clean baby food jar with water and a few drops of glycerin and glitter (so far my favorite glitters have been carrara marble coarse and crystal coarse,both by Martha Stewart). Lightly glue the inside of the lid and screw it on tight. Now take trim and glue it around the lid. Now play with it before you give it to the kids because you'll never get it back. The girls have already put them by the sides of there bed so that they can dream of their sea-side adventures.
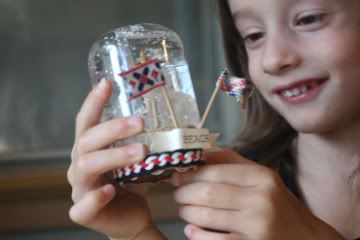
***Pls. send any links or ideas for crafting with kids over my way. I would forever be grateful. I do have the admit the actual part of making the snow globes is not as kid friendly as I would have liked because of all of the heavy duty glue. I think I let the girls push the toothpicks in and that was it. They sure liked the end result though.


8 comments:
Those are amazing!! You are one talented, crafty momma!
Have you decided where you're going yet? If you choose San Clemente, you won't be sorry! Plus it's not too far from Anaheim! :-)
ooooh how gorgeous!!! AM I too old to try to make these, just for me? :)
Adorable, both the globes and the look of delight on your girl's faces.
Oh my gosh those are AWESOME! Love those!
So Cute! They turned out perfect! What a fun summer time activity! You GO (crafty) Girl!
love em!! my favorite thing to do with things I usually have in the house is toothpick and marshmallow houses.... I don't know if it's considered a craft, but it keeps 'em busy:)
http://focusjennie.blogspot.com/2009/11/pick-house.html
So cute!!!! You're brillant
It looks great. Congratulations on a great job. I keep my fingers crossed for more projects.
Destinations worldwide
Post a Comment